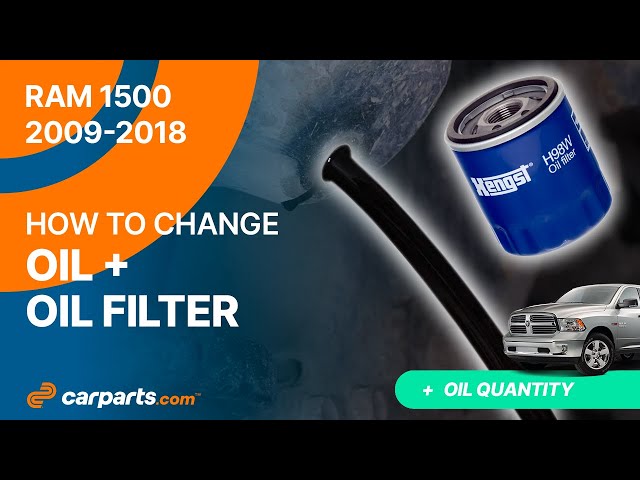
Changing your car’s oil filter might sound daunting, but it’s easier than you think. You’re not just saving money by doing it yourself; you’re giving your car the love it deserves.
Imagine the satisfaction of knowing your vehicle runs smoothly because of your handiwork. Plus, you gain confidence and new skills every time you pop the hood. This guide will walk you through every step in simple terms, ensuring you feel empowered rather than overwhelmed.
Ready to transform your car care routine and keep your engine purring with pride? Let’s get started on making you a DIY car maintenance pro!
Tools And Materials Needed
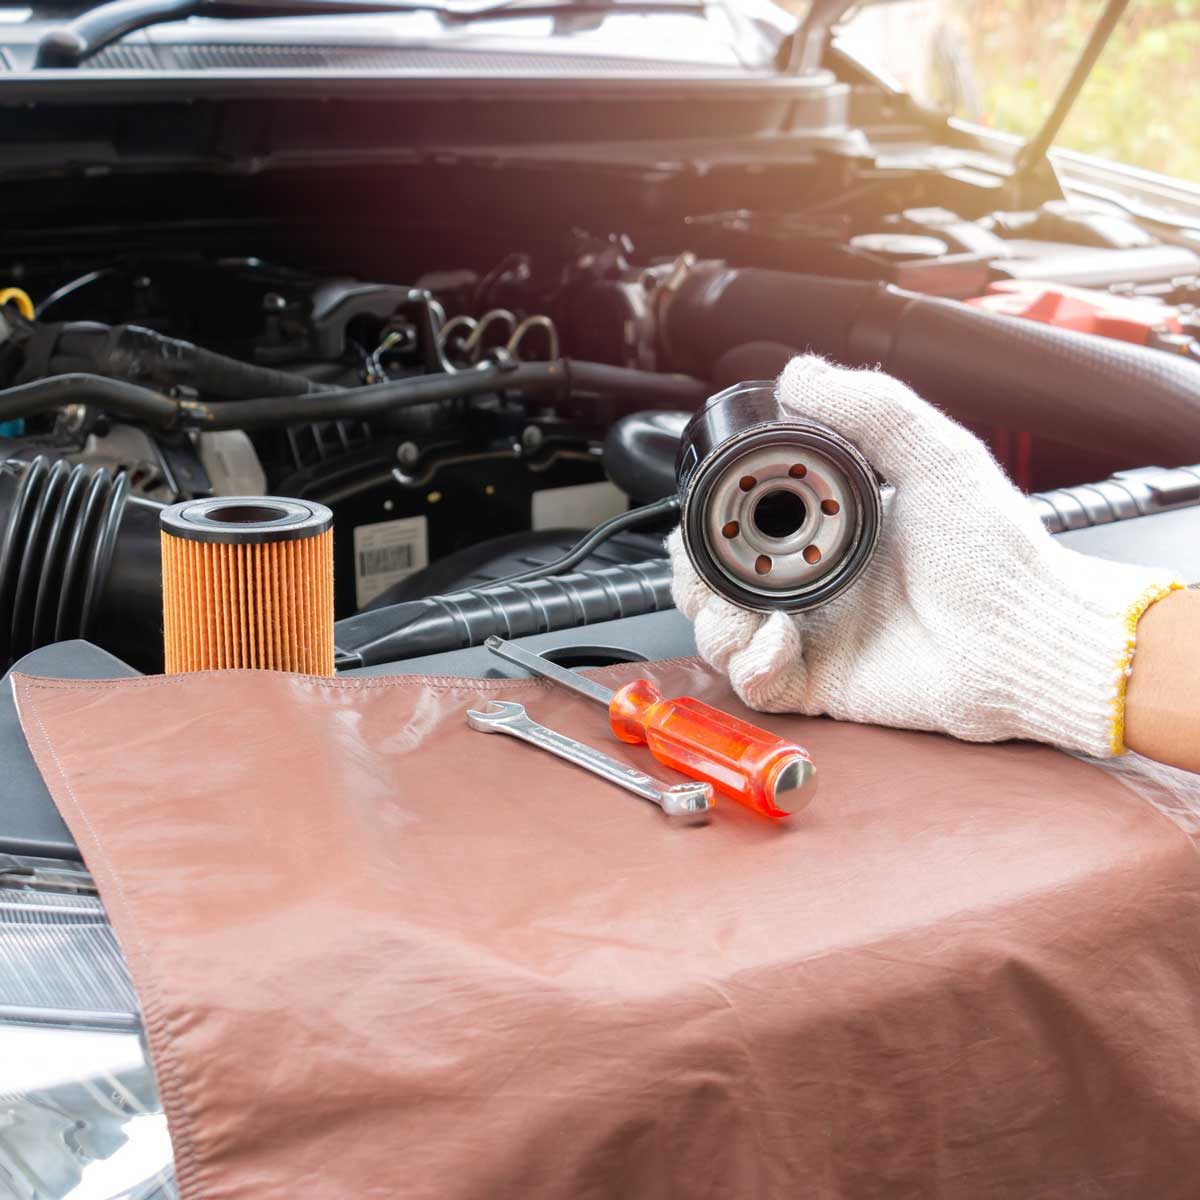
Gather essential tools like a wrench, oil filter wrench, and a drain pan. Have new oil and a replacement filter ready. Ensure you have gloves and rags for cleanliness and safety.
Changing your car’s oil filter is a straightforward task that can save you time and money. However, having the right tools and materials is crucial for a seamless experience. Imagine the frustration of starting a job only to realize you’re missing a critical tool. Let’s ensure that doesn’t happen. Below, you’ll find everything you need to get the job done efficiently.
Essential Tools
- Oil Filter Wrench:This tool is designed to grip and remove the oil filter easily, especially when it’s tight.
- Socket Set:A comprehensive set will help you loosen the drain plug and other bolts with precision.
- Funnel:Avoid spills and messes when pouring new oil into your engine.
Necessary Materials
- New Oil Filter:Ensure it’s compatible with your car model. A quick check in the manual can confirm this.
- Engine Oil:You’ll need enough to refill your engine. Check your vehicle’s specifications for the correct type and amount.
- Oil Drain Pan:This is essential for catching old oil and preventing spills on your driveway.
Optional Extras
- Rubber Gloves:Keep your hands clean and free from oil stains.
- Rags or Paper Towels:Useful for wiping away spills or cleaning around the filter area.
- Jack and Jack Stands:These are helpful if your car sits low to the ground, providing easier access underneath.
Getting your hands dirty can be satisfying, especially when you know you’ve done a great job. But have you ever thought about how these small tasks make you more connected with your vehicle? As you gather your tools and materials, consider the confidence you’re building in your ability to care for your car. Are you ready to roll up your sleeves and dive in?
Preparing Your Vehicle
Changing the oil filter on your car involves gathering tools, locating the filter, and carefully removing it. Ensure the engine is cool before starting. Use a wrench to loosen and remove the old filter, then install the new one securely.
Changing your car’s oil filter may seem daunting, but with the right preparation, it’s a straightforward task. Before diving into the mechanical aspects, setting the stage properly ensures a smooth process. This section will guide you through the crucial steps of preparing your vehicle, making the task not only manageable but also enjoyable.
Safety Precautions
Before you begin, think about safety. Wear gloves to protect your hands from oil and grime. It’s also wise to have safety glasses on hand to prevent any splashes. Make sure the car is off and the engine has cooled down. Hot oil can cause severe burns, so give it time to settle. Keep a fire extinguisher nearby, just in case. It might sound excessive, but it’s better to be safe than sorry.
Positioning The Car
Start by parking your car on a flat, stable surface. This prevents any accidental rolling and provides a stable base for your work. Use wheel chocks behind the rear wheels for added security. This step is essential for preventing any movement. Lift the car using a jack, and secure it with jack stands. Never rely solely on the jack as it may fail, causing the car to fall. Taking these preparatory steps seriously can make the entire oil filter changing process smoother. What’s your biggest concern when working on your car? Addressing it now can save you from unexpected challenges later on.
Locating The Oil Filter
Locating the oil filter is a crucial step in changing your car’s oil. The filter removes impurities and keeps the engine clean. Finding it can be tricky for beginners. Here’s a guide to help you locate the oil filter effortlessly.
Consulting The Manual
The car manual is your best friend for finding the oil filter. It contains specific details about the car’s make and model. Look for the section on engine components. Diagrams can guide you to the exact location. Manuals often suggest tools needed for the task.
Identifying The Filter Type
Oil filters vary in shape and size. Identify your filter type before removal. Common types include spin-on and cartridge. Spin-on filters look like metal cans, while cartridges are smaller. Knowing your filter type helps in selecting the right replacement. Check the manual for this information.
Credit: www.familyhandyman.com
Draining The Old Oil
Changing your car’s oil filter starts with draining the old oil. It’s a straightforward process, but it requires careful handling. Ensure your car is parked on a level surface. This helps prevent any unwanted spills and keeps your workspace clean. Safety is crucial. Wear gloves and safety glasses to protect yourself.
Loosening The Drain Plug
Locate the oil drain plug under your car. Use a wrench to loosen it. Turn the wrench counterclockwise to release the plug. Be prepared for the oil to start flowing out as soon as it’s loosened. Make sure you have a container ready to catch the oil.
Collecting The Used Oil
Position a large container under the drain plug. This will collect all the used oil. Make sure the container is big enough to hold the oil from your car. Once the oil is drained, you can remove the container carefully. Seal it properly to avoid spills. Remember to dispose of the used oil responsibly at a recycling center.
Removing The Old Oil Filter
Removing the old oil filter requires careful handling to avoid spills. Use a wrench to loosen the filter. Ensure the oil pan is positioned underneath to catch any drips.
Changing the oil filter on your car can be a straightforward task, but it’s essential to understand each step clearly. One of the crucial parts of this process is removing the old oil filter. Whether you’re a seasoned DIYer or a beginner, approaching this step with care ensures a smooth transition to installing a new filter. Remember, this is not just about unscrewing a component; it’s about setting the stage for a cleaner, more efficient engine.
Loosening The Filter
Start by locating the oil filter. It’s usually a cylindrical component attached to the engine block. Depending on your car model, you might need an oil filter wrench to loosen it. Before twisting, ensure your engine is off and cooled down to avoid burns. Once you have a firm grip, turn the filter counterclockwise. It might take some effort initially, especially if it hasn’t been changed recently. If it’s too tight, don’t panic. Consider using a filter wrench with better leverage. Sometimes a rubber grip can help improve your hold.
Cleaning The Area
After removing the filter, inspect the area for any remaining oil. Old oil can drip, creating a mess, so have a rag or towel ready. Wipe the surface where the new filter will sit. This ensures a good seal and prevents leaks. Be meticulous; a clean surface promotes better engine performance. Also, check for any debris or old gasket material left behind. This could interfere with the new filter’s installation. Cleaning is not just about aesthetics but ensuring longevity and efficiency. Have you ever thought about how a small task like this can impact your engine’s health? Taking a few extra minutes to clean thoroughly can make all the difference in your car’s performance.
Installing The New Oil Filter
Installing a new oil filter ensures your car runs smoothly. First, locate the filter and remove the old one. Carefully install the new filter, ensuring it’s snug.
Installing a new oil filter is an essential step in maintaining your car. It ensures that your engine runs smoothly. A clean oil filter removes impurities from the engine oil. This process helps prevent engine damage and keeps your vehicle in top shape. Below, you’ll find detailed guidance on installing the new oil filter.
Preparing The New Filter
Begin by unpacking the new oil filter carefully. Check for any visible damage. A damaged filter can cause leaks. Apply a thin layer of new engine oil to the rubber gasket. This helps create a better seal. Use clean hands or a cloth to spread the oil. Avoid using excessive oil. Too much oil may cause the filter to slip.
Securing The Filter In Place
Position the new filter onto the mounting base. Align it properly to avoid cross-threading. Use your hand to tighten the filter. Over-tightening can damage the threads. Turn the filter until snug. If necessary, use a filter wrench for the final turn. Ensure the filter is secure but not overly tight. A properly installed filter prevents leaks and ensures efficient operation.
Refilling With New Oil
Changing the oil filter requires refilling with new oil to ensure smooth engine performance. First, drain the old oil completely. Then, replace the old filter with a new one. Finally, pour fresh oil into the engine, checking the oil level to avoid overfilling.
Refilling with new oil is a crucial step in maintaining your car’s engine health. Once the old oil filter is replaced, the next task is to ensure your engine is lubricated with fresh oil. This process involves selecting the correct type of oil and carefully pouring it into the engine. Let’s explore each part of this step-by-step.
Choosing The Right Oil
Selecting the correct oil is vital for engine performance. Check your car’s manual for the recommended oil type and grade. There are several types to consider:
- Conventional Oil:Best for simple engine designs.
- Synthetic Oil:Offers superior protection and performance.
- High Mileage Oil:Ideal for engines with over 75,000 miles.
Consider the climate you drive in. Cold areas may need thinner oil. Hot climates might require thicker oil. Always double-check your choice before purchasing.
Pouring The Oil
After choosing the right oil, it’s time to pour it into the engine. First, locate the oil filler cap on the top of your engine. Remove the cap carefully. Use a funnel to avoid spills. Slowly pour the new oil into the funnel. Check the dipstick to ensure you fill to the correct level. Reattach the oil filler cap securely. This helps prevent leaks and keeps your engine protected.

Credit: www.tiktok.com
Checking For Leaks
After installing a new oil filter, ensure there are no leaks. Start the engine and let it idle briefly. Check under the car for drips or puddles. Adjust the filter if necessary for a secure fit. This prevents oil loss and engine damage.
Changing your car’s oil filter is essential for engine health. After replacing the filter, checking for leaks ensures everything is sealed correctly. Leaks can lead to engine damage and costly repairs. So, checking for leaks is crucial for safety and performance. Let’s dive into how you can thoroughly inspect for leaks.
Inspecting The Filter Area
Start by cleaning the area around the filter. Remove any oil residue with a clean cloth. This will make it easier to spot leaks. Look closely at the filter and the surrounding areas. Check if the filter is tightly secured. A loose filter can cause leaks. Ensure the gasket is properly seated. A misaligned gasket can lead to oil spills. Use a flashlight for better visibility. Look for any signs of oil drips or pooling. If you spot any, the filter may need adjustment.
Testing The Engine
Turn on the engine and let it idle for a few minutes. This helps to build pressure in the system. Observe the filter area while the engine runs. Look for any fresh oil leaks. Pay attention to the smell; burnt oil indicates a leak. Listen for unusual sounds coming from the engine. Knocking sounds might mean the filter is not installed correctly. After a few minutes, turn off the engine and recheck the filter area. If everything is dry, you’re good to go. If you find leaks, re-tighten the filter and check again.
Disposing Of Used Oil And Filter
Properly dispose of used oil and filters to protect the environment. Use a sealed container for the oil and take it to a recycling center. Ensure the filter is drained and recycled or disposed of at a designated facility.
Disposing of used oil and filters from your car is a crucial step in maintaining environmental health and ensuring legal compliance. Carelessly disposing of these items can harm the ecosystem and result in legal penalties. Fortunately, there are straightforward methods to handle these materials responsibly.
Eco-friendly Disposal Options
One of the simplest ways to dispose of used oil is by taking it to a recycling center. Many auto parts stores and service stations accept used oil free of charge. This ensures that the oil is recycled into new products, reducing environmental impact. For used oil filters, consider using a filter crusher to remove any remaining oil. Once crushed, the metal can be recycled. Check if your local waste management services offer specific recycling programs for oil filters. Always store used oil in a clean, sealed container until you can recycle it. Avoid mixing it with other substances, as this can complicate the recycling process and potentially harm the environment.
Local Regulations
Understanding local regulations is vital to ensure you are disposing of oil and filters correctly. Regulations can vary significantly from one region to another. Some areas might have dedicated collection days or specific drop-off locations for hazardous waste. Research your local government’s website for detailed guidelines. They often provide resources and contact information to help you find the nearest disposal facilities. Failure to comply with local regulations can lead to fines or other penalties. Always stay informed to avoid unnecessary legal troubles and contribute positively to your community’s environmental efforts.

Credit: www.carsales.com.au
Maintenance Tips
Proper maintenance of your car’s oil filter is crucial for its longevity. Regular checks and timely changes ensure your engine runs smoothly. Neglecting this part can lead to bigger issues. Here are some tips to keep your oil filter in top shape.
Regular Oil Change Schedule
Stick to a routine oil change schedule. Consult your car’s manual for the recommended intervals. Most cars need an oil change every 3,000 to 5,000 miles. Regular oil changes prevent sludge buildup, keeping your engine healthy. This simple habit prolongs your car’s lifespan.
Monitoring Oil Levels
Keep an eye on your car’s oil levels. Check them regularly, especially before long trips. Low oil levels can damage your engine. Use the dipstick to measure oil levels. Wipe it clean, insert it fully, and check the oil mark. Refill if necessary to avoid potential problems.
Frequently Asked Questions
How Often Should I Change My Car’s Oil Filter?
Most manufacturers recommend changing the oil filter every 3,000 to 5,000 miles. This ensures optimal engine performance and longevity. Regular maintenance helps prevent engine wear and tear. Always check your car’s manual for specific recommendations. Keeping a consistent schedule can save you from costly repairs.
What Tools Do I Need To Change The Oil Filter?
You need an oil filter wrench, drain pan, and socket set. These tools help remove the oil filter efficiently. Ensure you have gloves to keep your hands clean. A funnel is useful for adding new oil. Always check your car’s manual for specific tool recommendations.
Can I Change The Oil Filter Myself?
Yes, changing the oil filter is a straightforward DIY task. Ensure you have the necessary tools and follow safety precautions. Familiarize yourself with your car’s manual for specific instructions. It’s a cost-effective way to maintain your vehicle. If unsure, consult a professional mechanic.
What Happens If I Don’t Change The Oil Filter?
Neglecting to change the oil filter can lead to engine damage. Dirty filters reduce oil flow, causing increased friction. This can result in overheating and decreased engine performance. Regular filter changes ensure clean oil circulates efficiently. Prevent potential costly repairs by maintaining a consistent schedule.
Conclusion
Changing your car’s oil filter is simple and important. It helps your car run smoothly. Regular changes prevent engine problems. Gather your tools first. Follow each step carefully. Keep your car’s manual handy for guidance. Dispose of the old filter responsibly.
Always double-check your work. This keeps your car safe and efficient. Doing this task yourself saves money. You also learn more about your car. Keep your car in top shape with routine maintenance. Enjoy a smoother, longer-lasting drive.